How to Maintain Your Sea-Doo After Riding in Salt Water
If you regularly ride your Sea-Doo in the ocean, proper rinsing and maintenance are critical to keeping your watercraft running smoothly and looking great for years to come. Salt water is extremely corrosive and can quickly build up on metal parts, the jet pump, and inside the exhaust system if it is not flushed properly.
After many seasons riding in the ocean, I have developed a simple and effective routine that I follow every time I bring my Sea-Doo home from a salt water session. In the video below, I walk through the full process step by step, from flushing the exhaust system to rinsing the engine bay and protecting critical components.
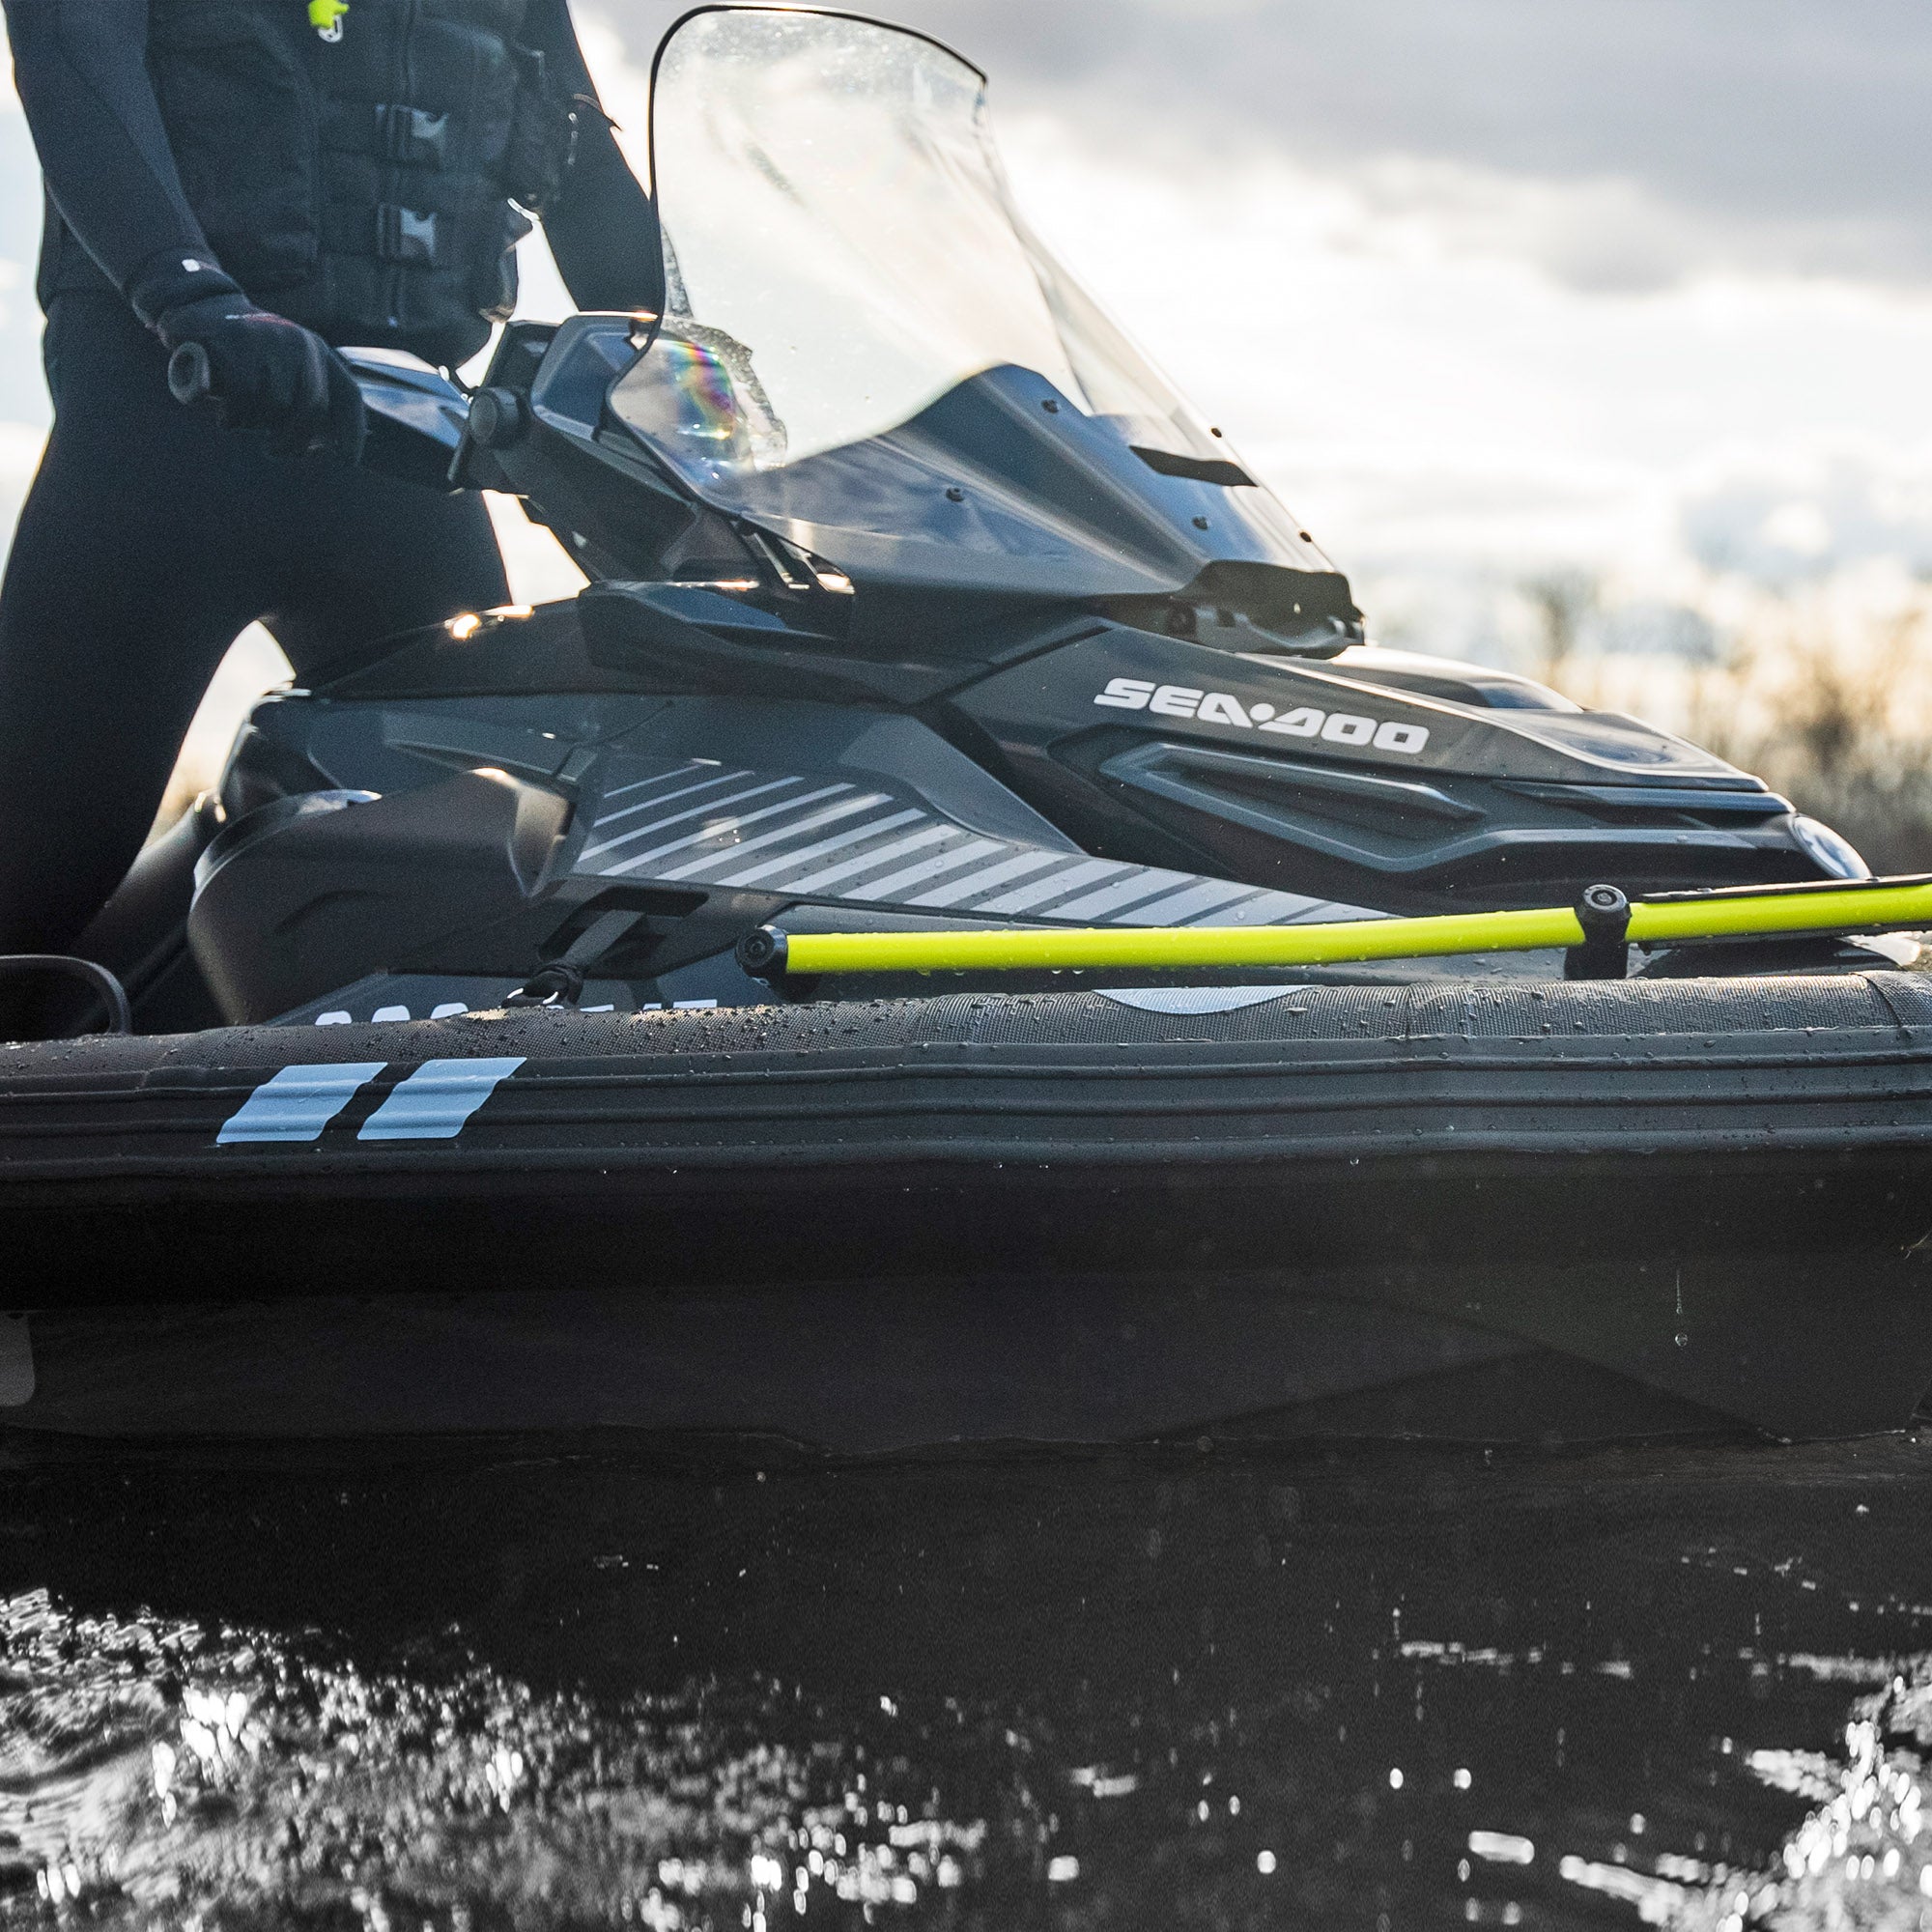
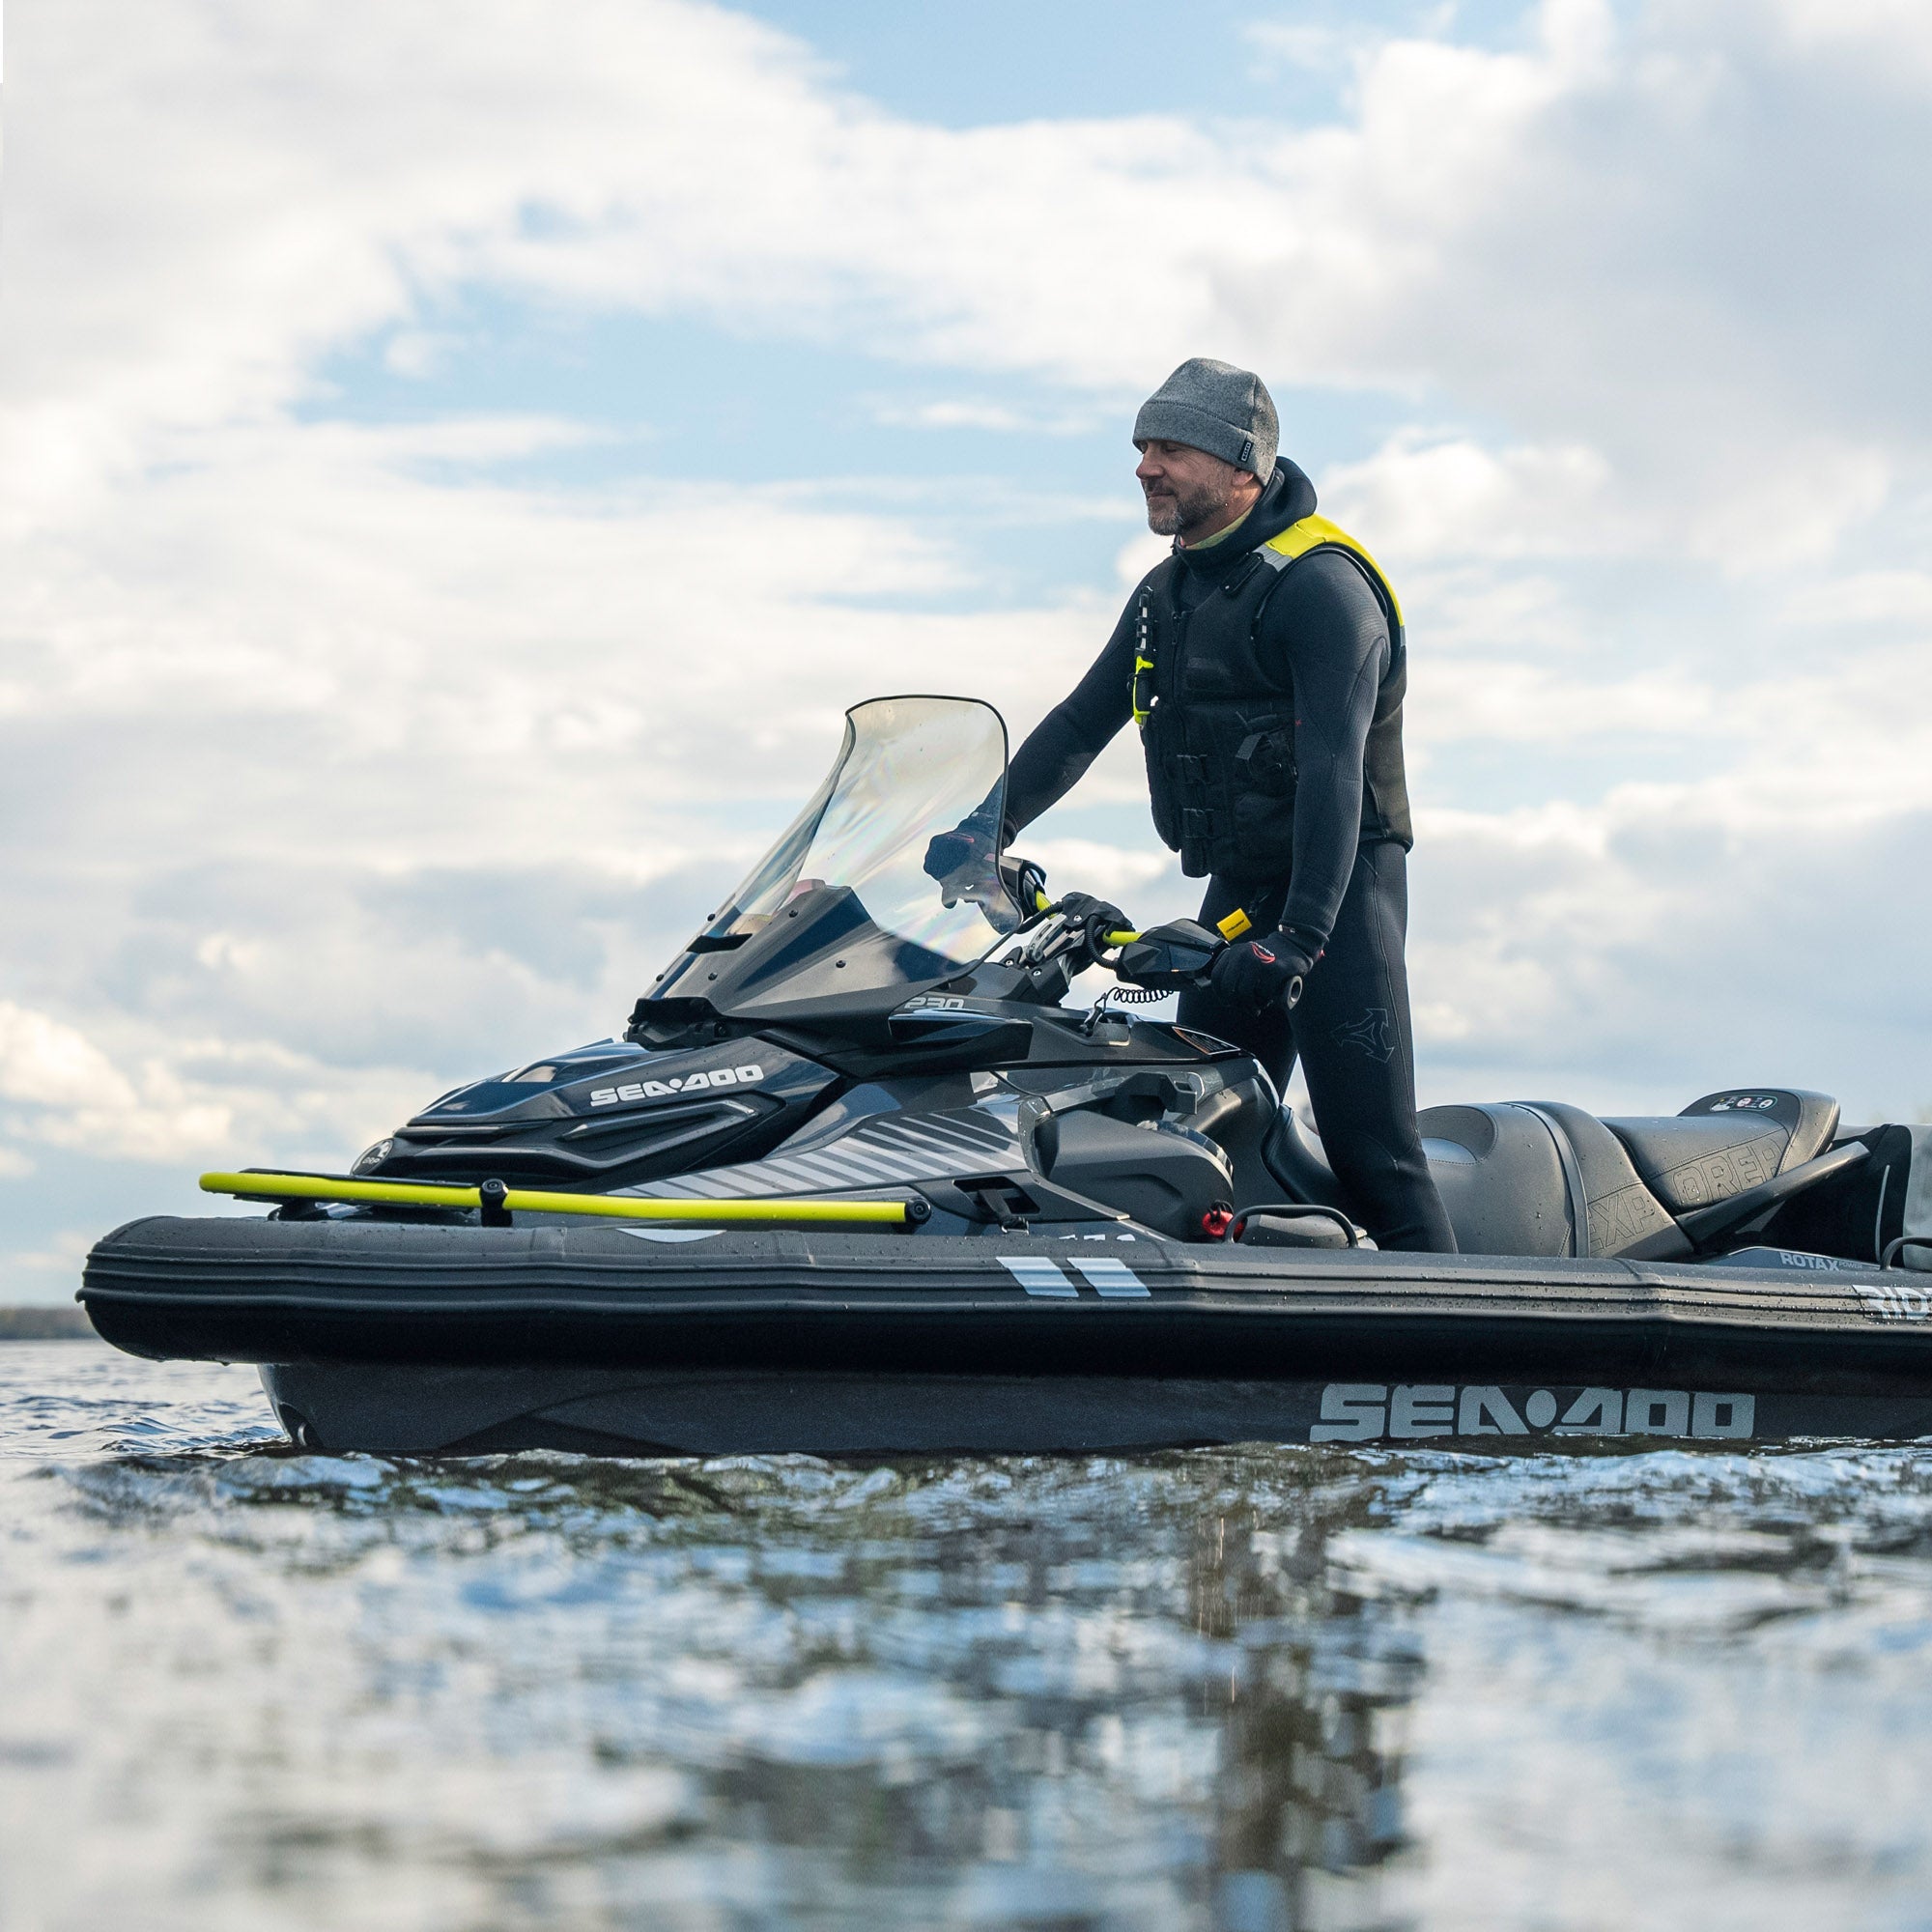
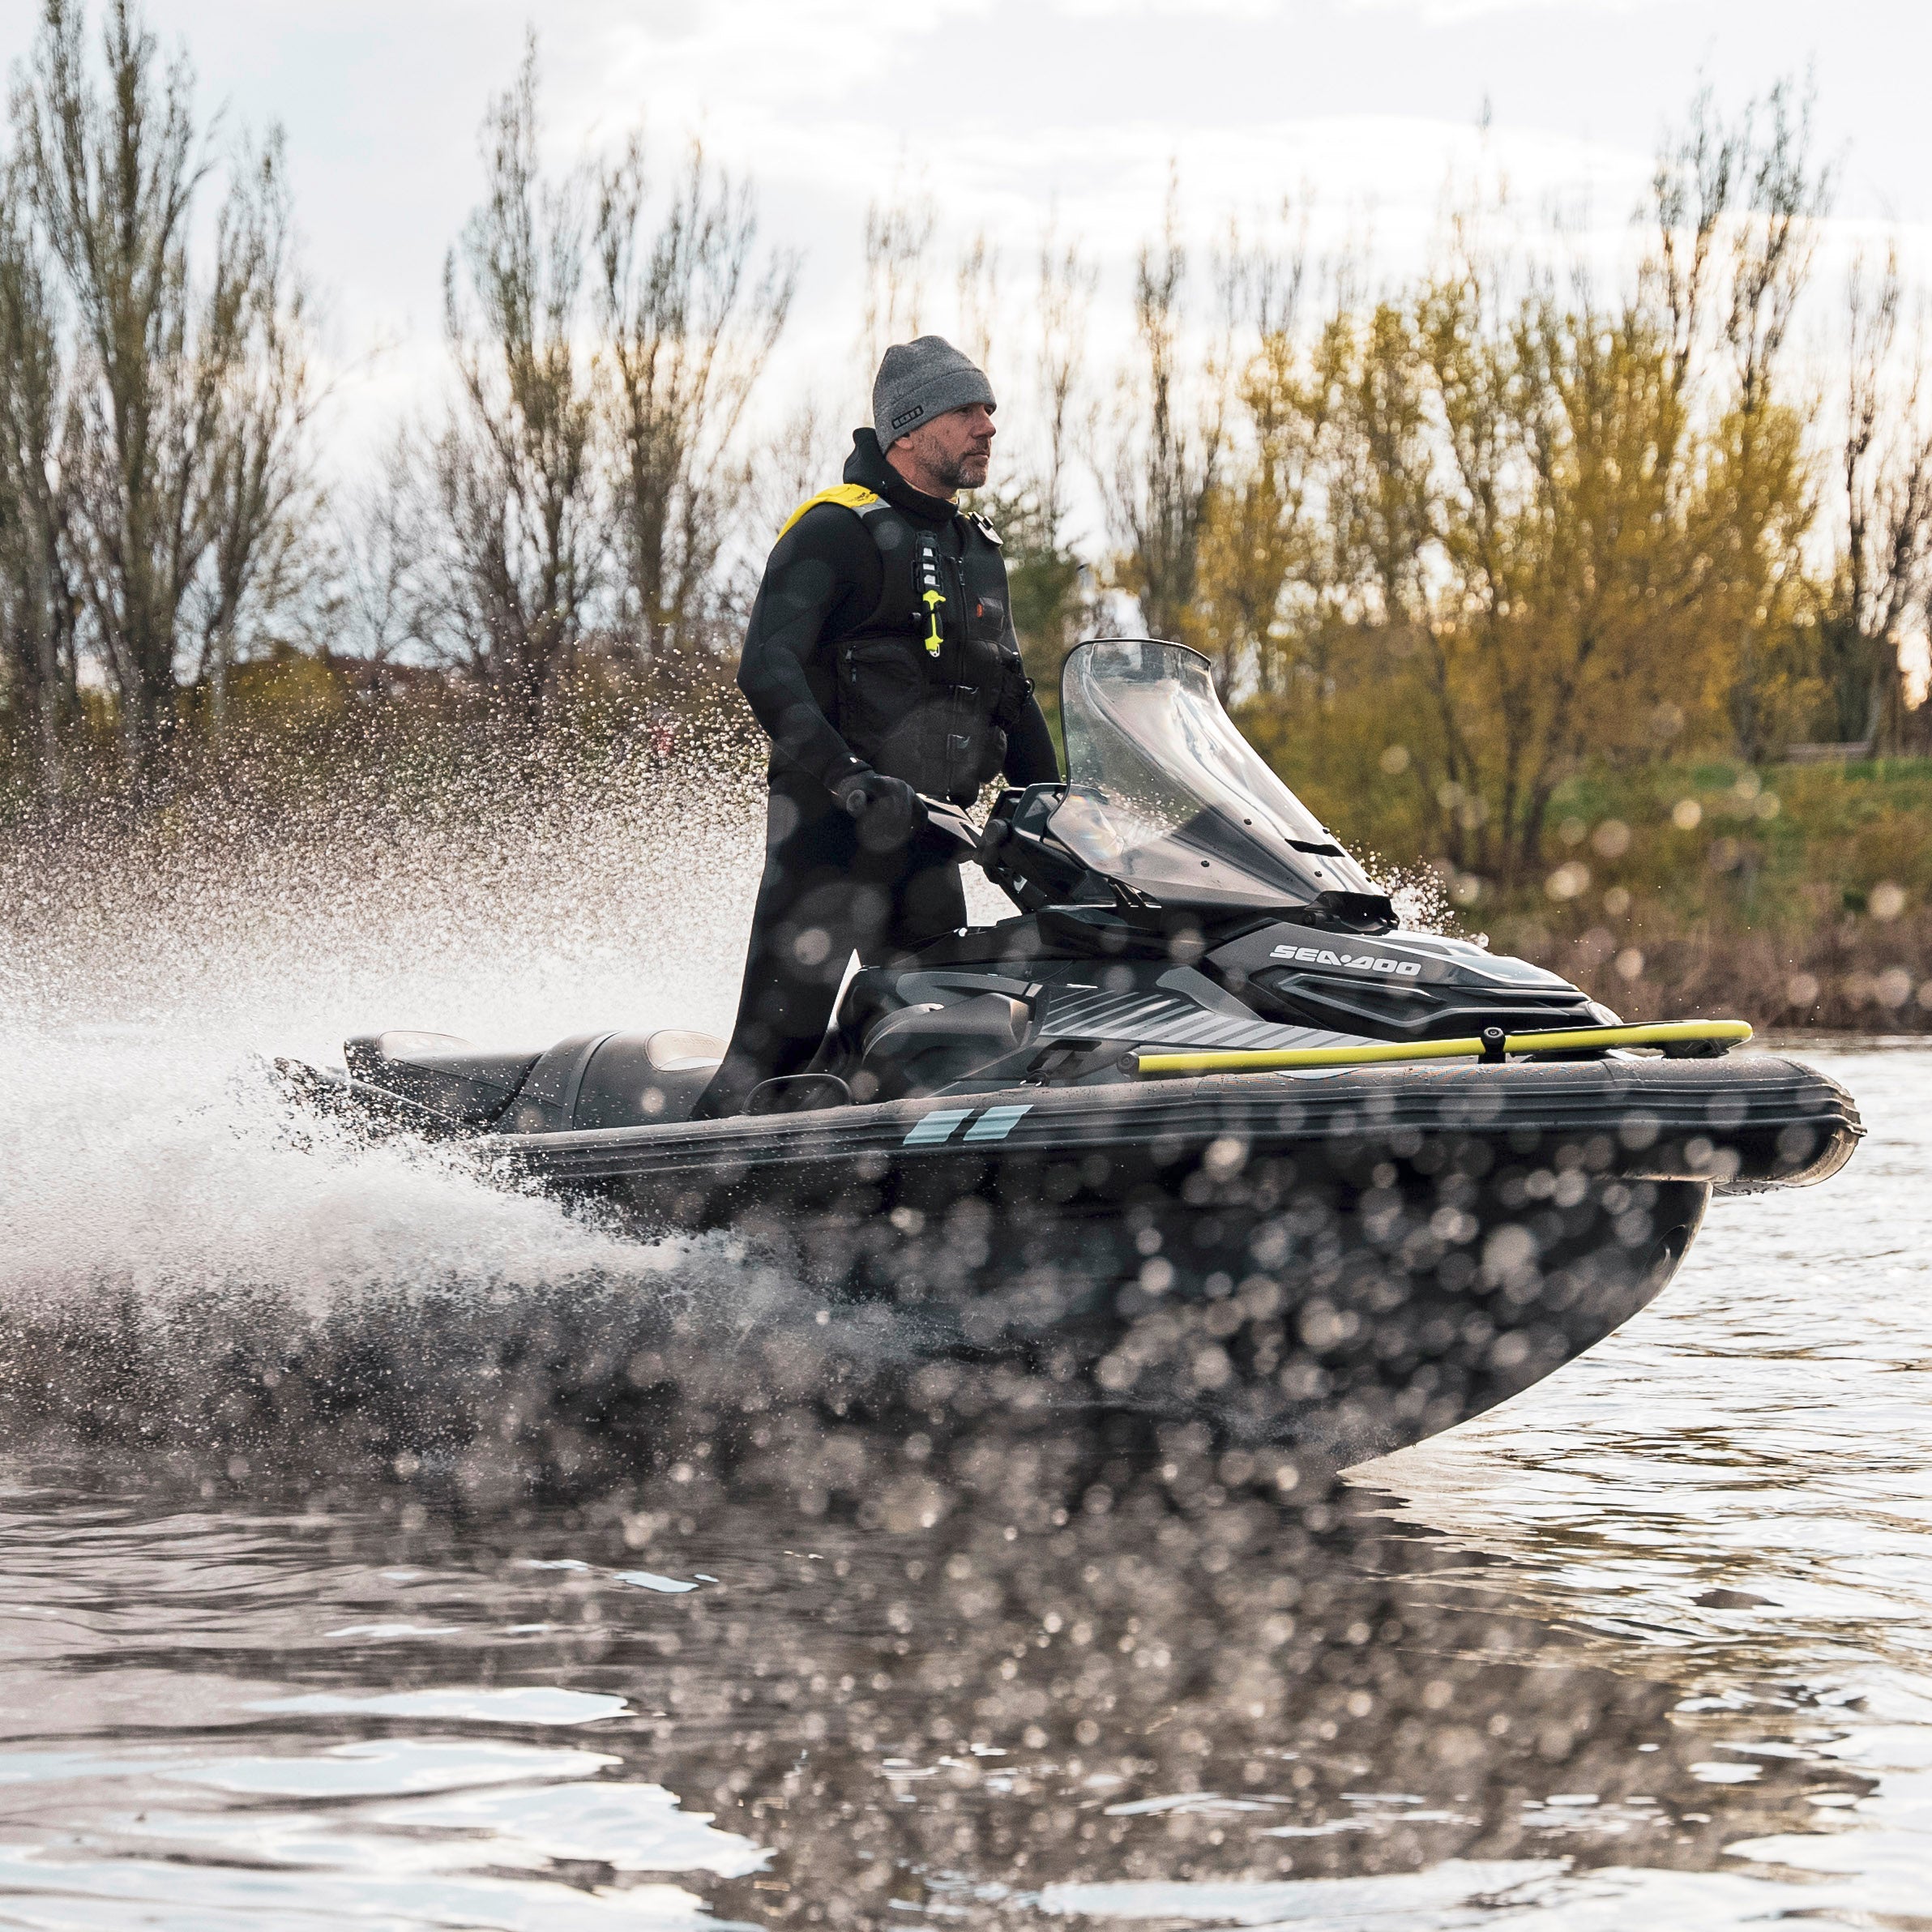
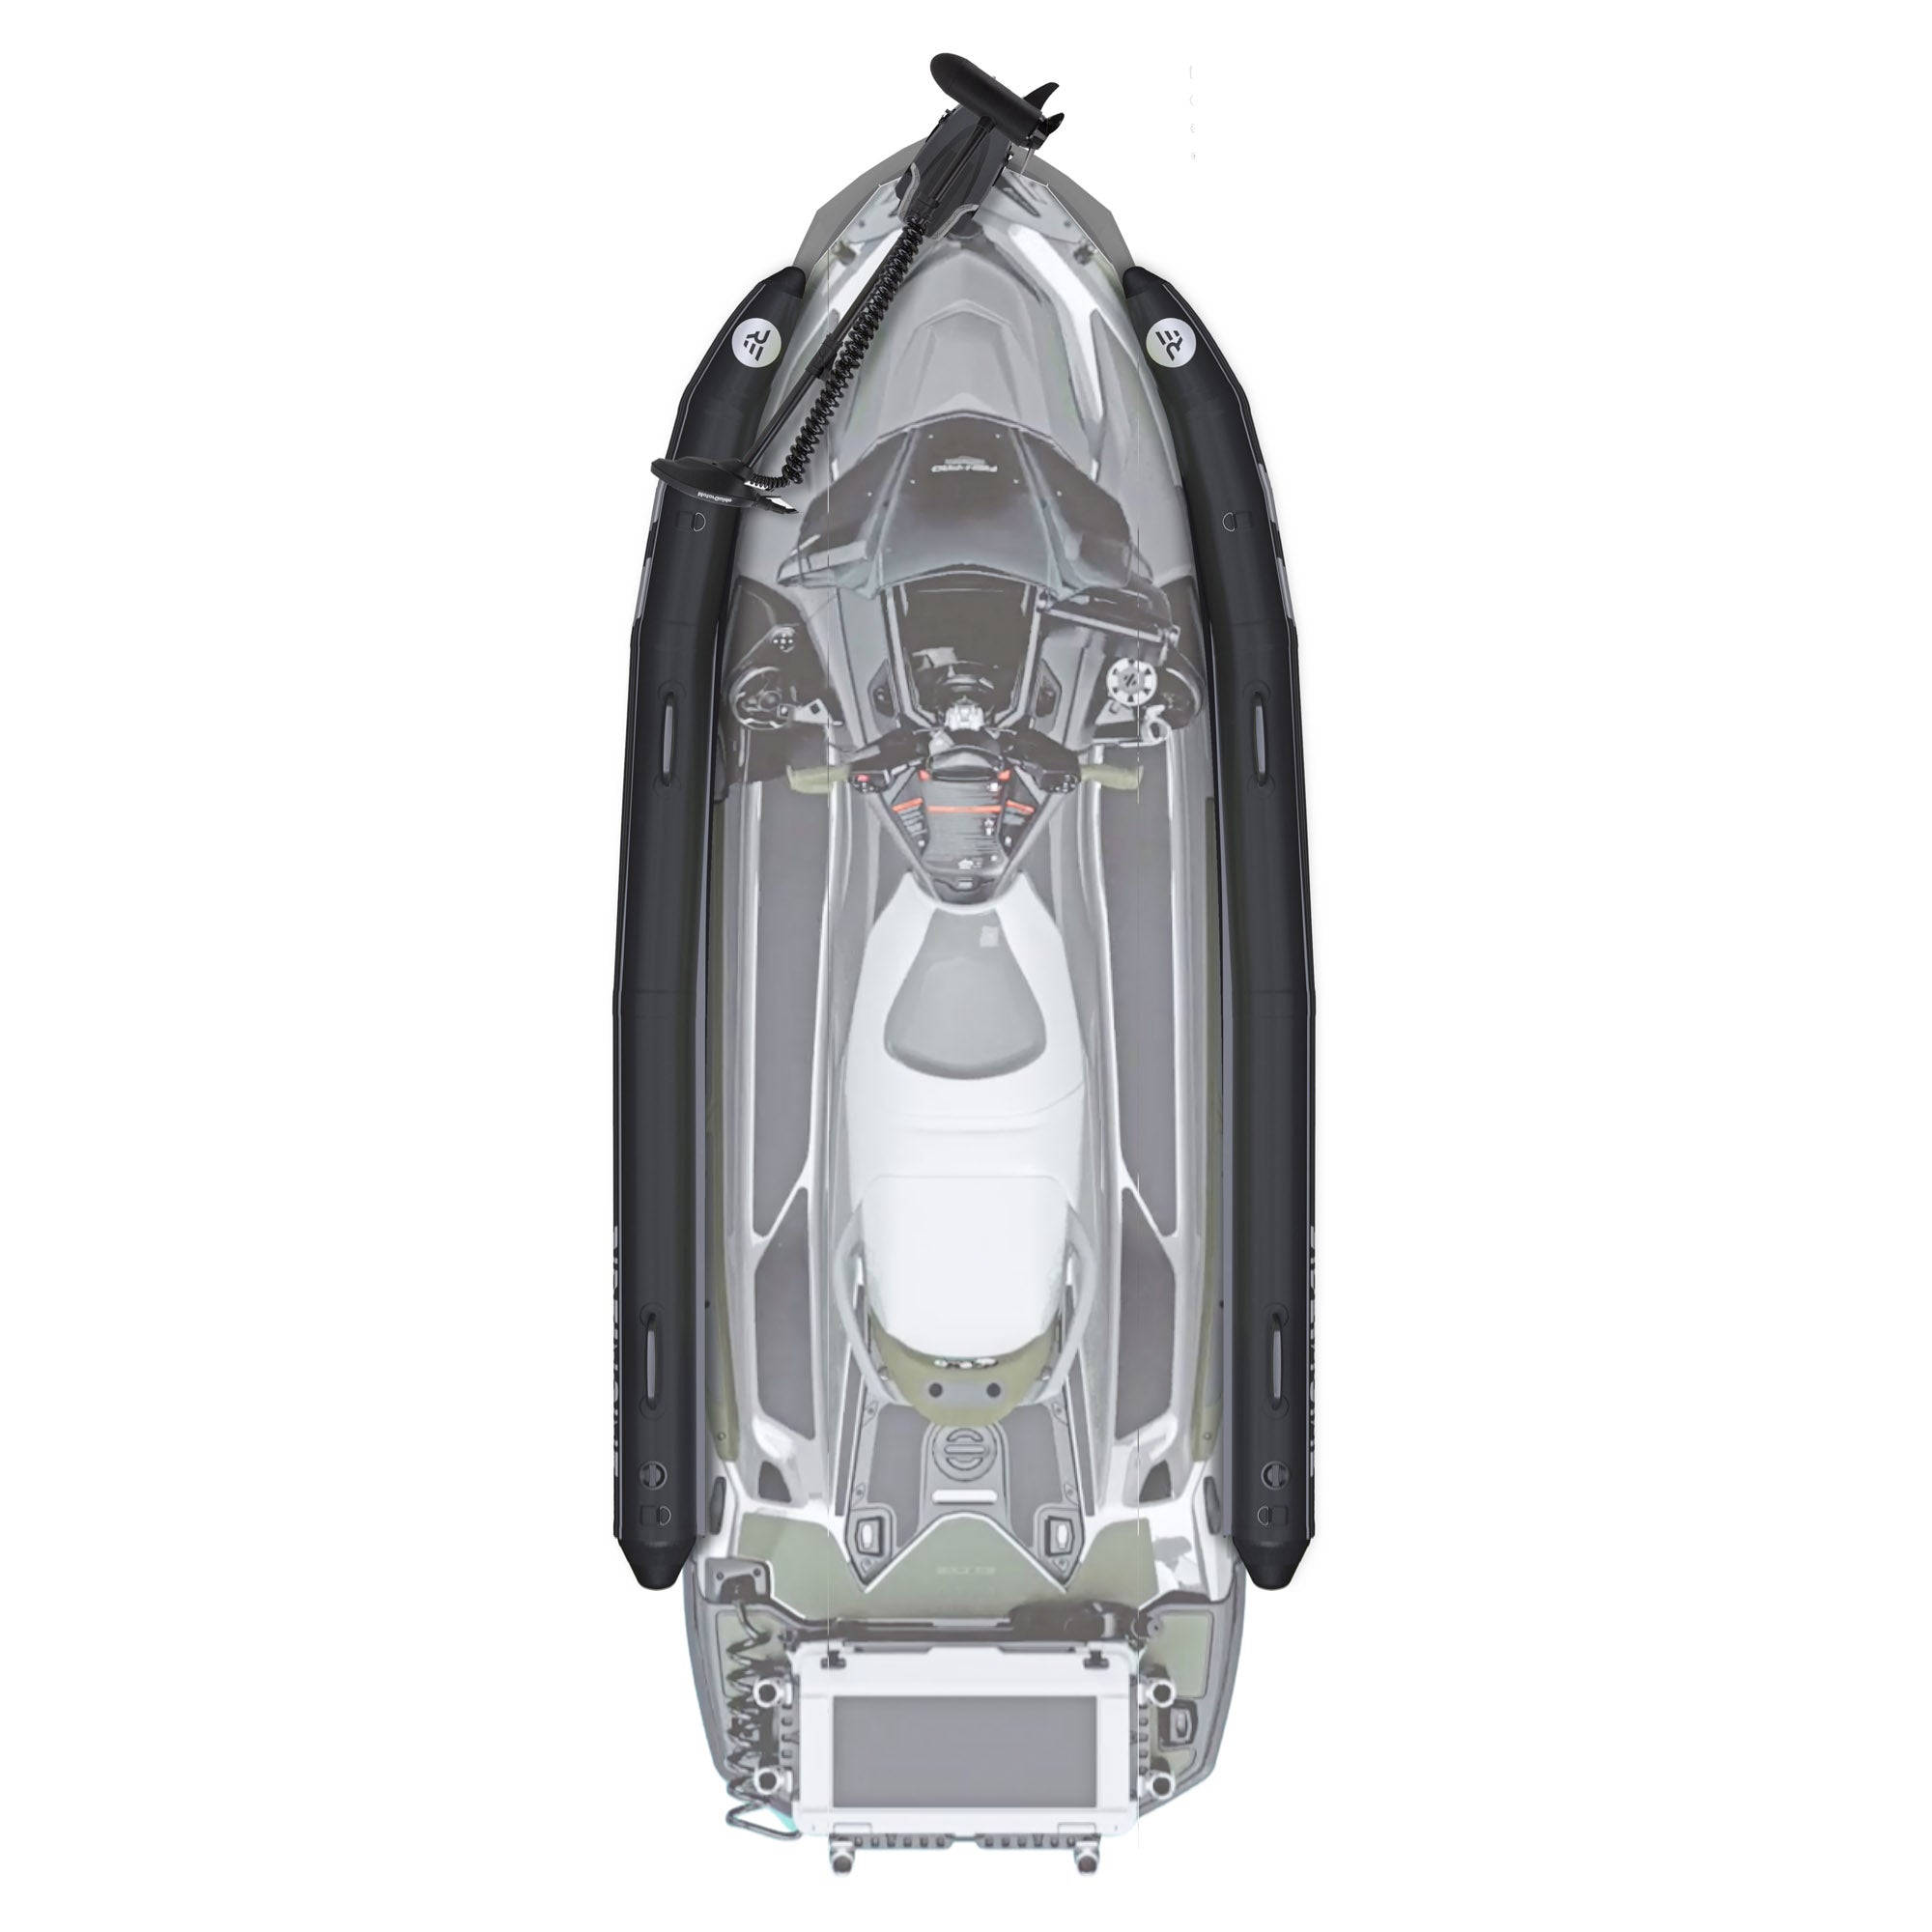
Before you ask, here is the link to the PWC Inflatable Collar my Sea-Doo GTX is equipped with in this video.
Step 1. Flush the exhaust system with Salt-Away™
The first step after any salt water ride is flushing the exhaust system. This is where salt buildup can accumulate quickly if the system is not rinsed properly.
Connect a hose mixer filled with Salt-Away™ to the Sea-Doo flushing port. Salt-Away™ is a non-toxic solution designed to dissolve and prevent salt buildup on metal components.
Start the engine first, then turn on the Salt-Away™ mixture and let it run through the system for about 30 seconds. After that, switch the mixer to fresh water only and let the system rinse for another 30 seconds.
Important Sea-Doo rule: always turn the water off before stopping the engine.
Step 2. Open the engine bay and rinse components
Next, remove the seats to access the engine bay. For a deeper clean, you can also remove the engine cover plate, which gives better access to the engine and surrounding components.
Using the remaining Salt-Away™ mixture in the hose mixer, spray the engine and surrounding parts to dissolve any salt deposits that may have accumulated during the session.
At this point, make sure the drain plugs are open so any water can exit the hull.
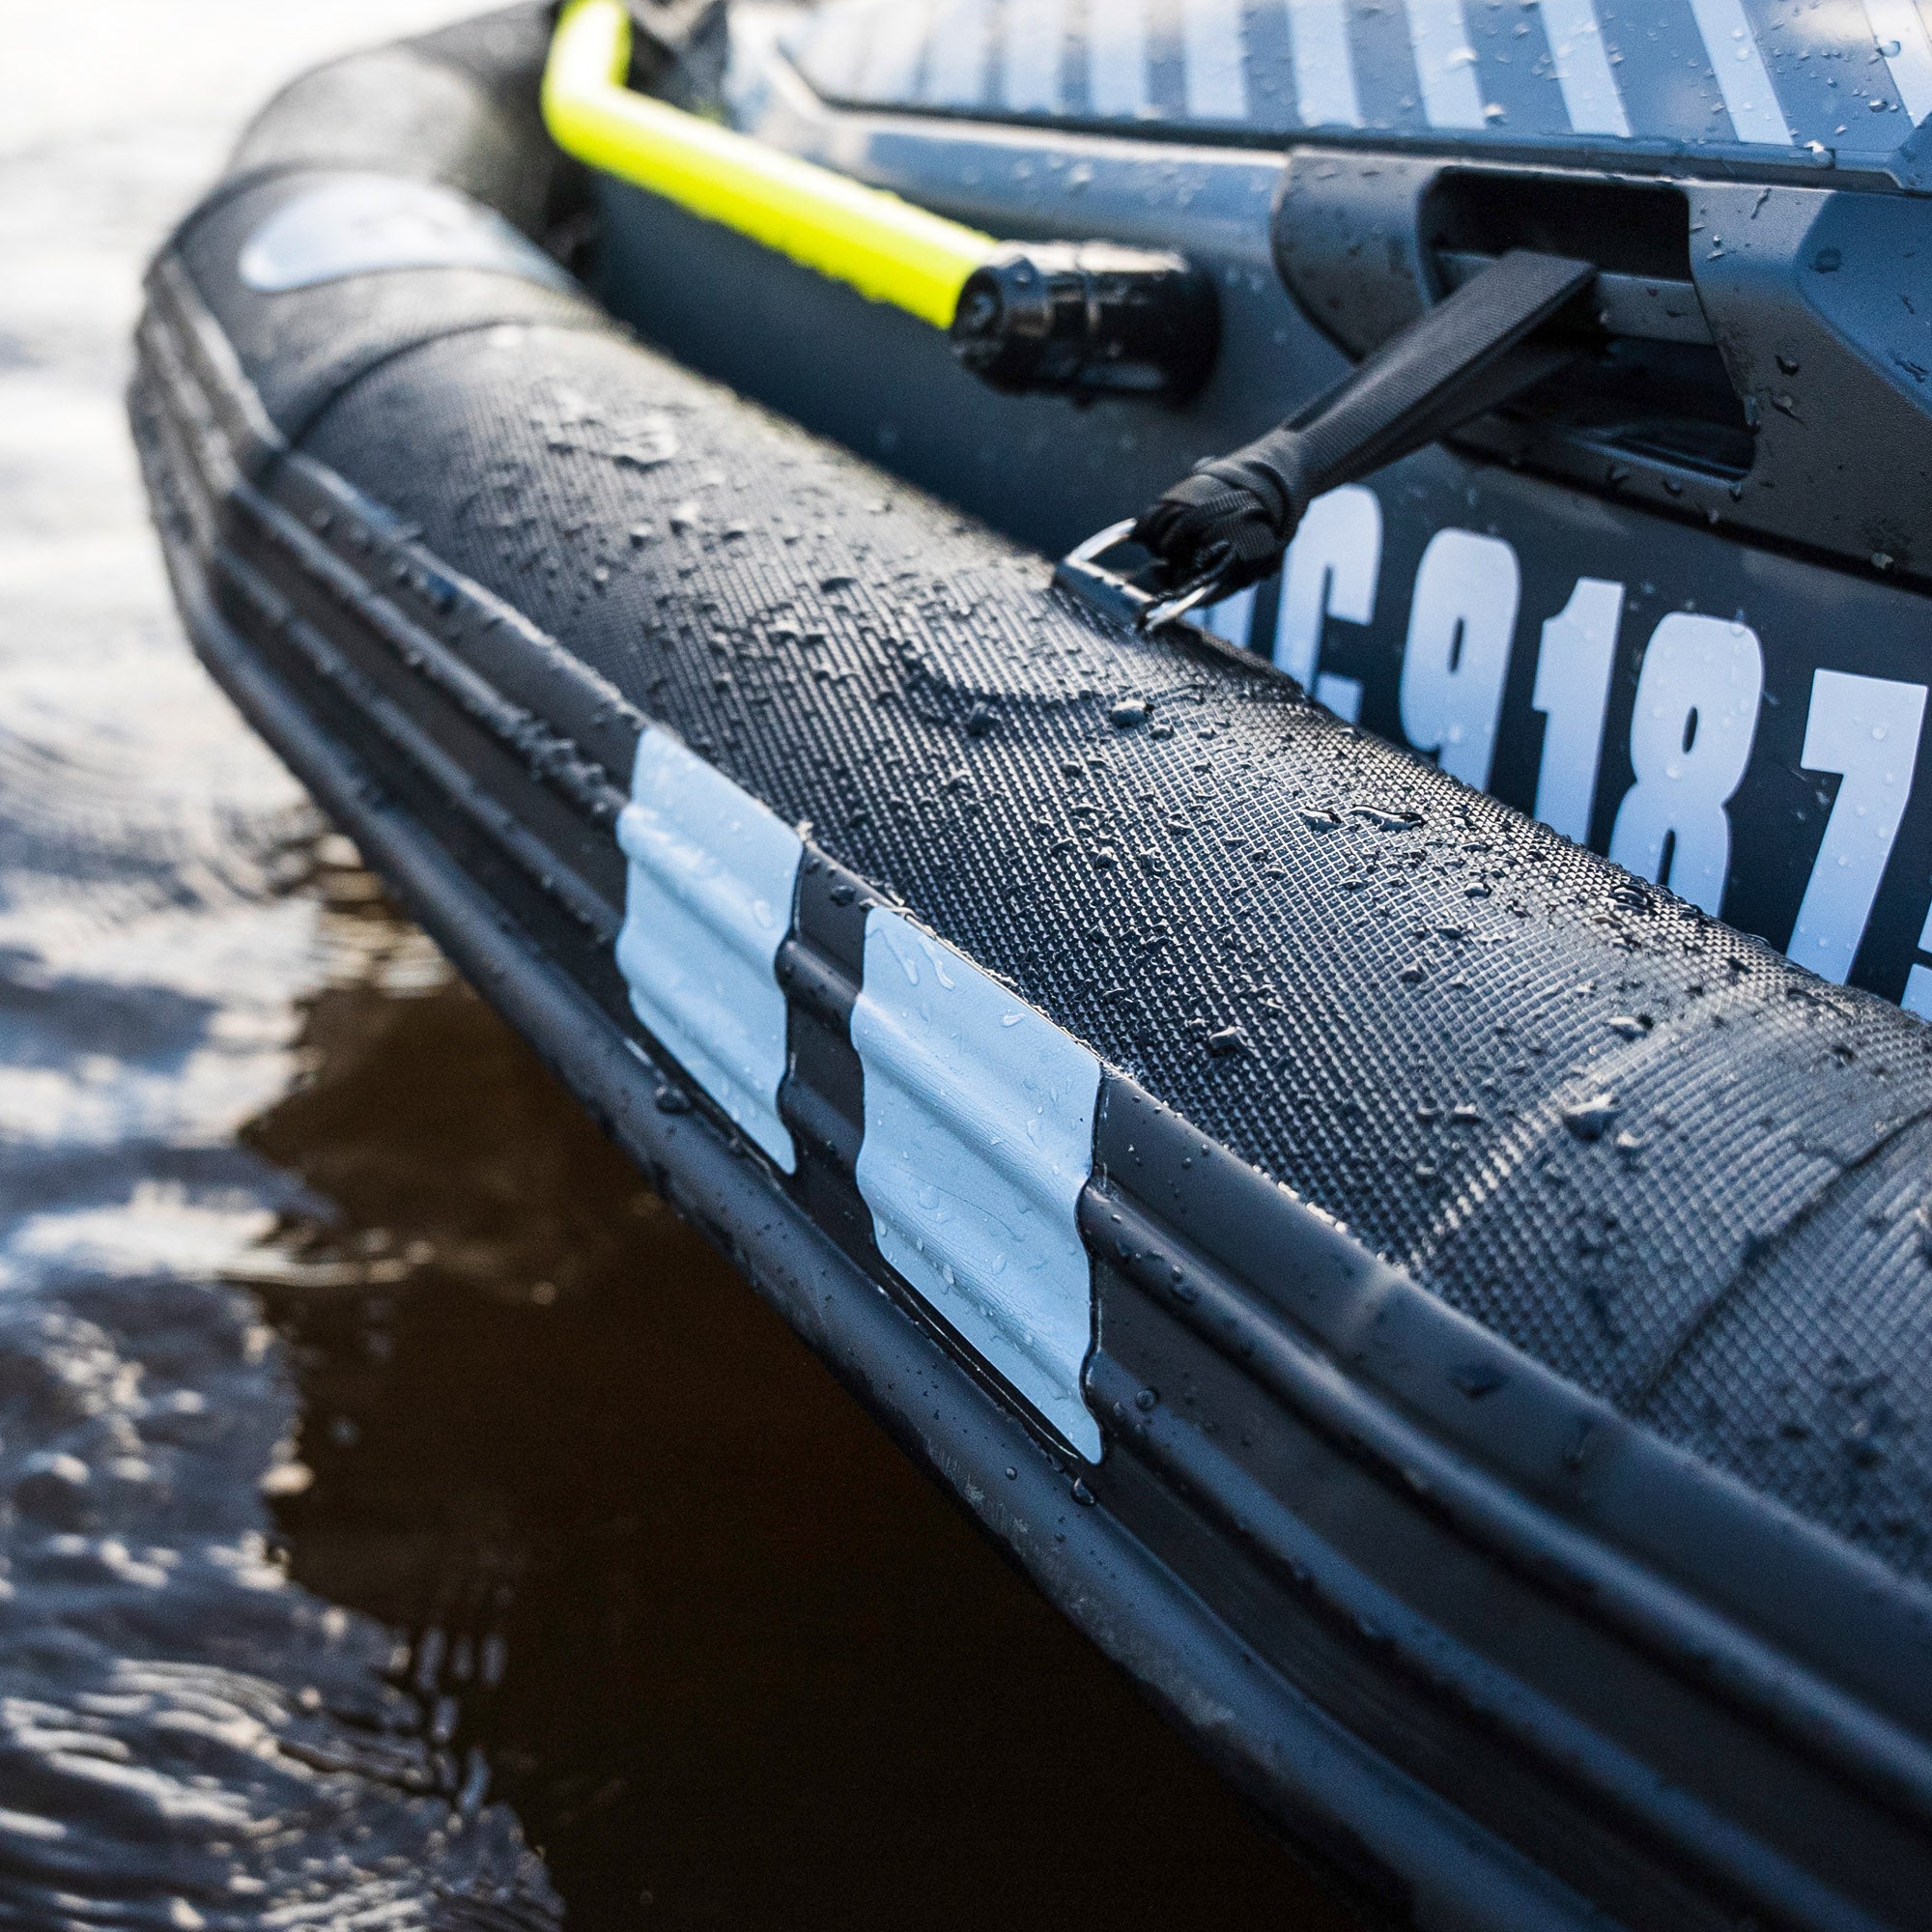
Step 3. Rinse the entire watercraft
After treating the engine bay, rinse the entire Sea-Doo thoroughly. This includes the hull, the jet pump, the intake grate, and even the trailer.
Salt water tends to accumulate everywhere, so taking the time to rinse everything helps prevent corrosion and keeps your equipment looking good.
Because of how my trailer is balanced, I can slightly tilt the unit backward, which helps water drain out of the hull.
I then switch to fresh water only and rinse the entire unit again to remove any remaining Salt-Away™ residue.
Quick tip
You do not have to remove the engine cover every time you rinse your Sea-Doo. You can still do a very good rinse of the engine bay through the ski pylon hatch.
Step 4. Remove salt stains from plastic panels
Salt water often leaves white spots on the plastic panels of your Sea-Doo. One of the best products I have found to remove these stains is XPS® Hull Cleaner.
It works extremely well to restore the finish of plastic panels and bring the watercraft back to a clean look.
Just make sure you rinse the panels thoroughly with fresh water after applying the cleaner.
Step 5. Protect the engine and jet pump from corrosion
Once the engine and jet pump start to dry, apply a generous coat of XPS® Anti Corrosive Lubricant. This protective coating helps shield critical components from corrosion and keeps everything operating smoothly between rides.
Final thoughts
Rinsing your Sea-Doo properly after riding in salt water is one of the most important maintenance habits you can develop as a PWC owner. A simple routine like this can significantly extend the life of your watercraft and keep it performing at its best.
If you ride your Sea-Doo in the ocean regularly, taking a few extra minutes to flush and rinse everything thoroughly will save you a lot of headaches down the road.
See you guys on the water.